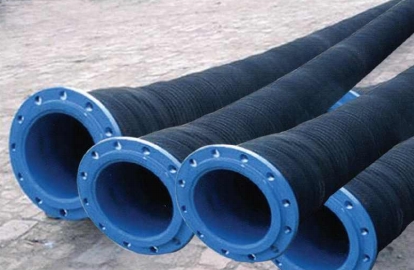
How to fix Rubber Tube
2025-06-05
Fixing a rubber tube depends on the type of damage (e.g., a small hole, split, or tear) and what the tube is used for (e.g., automotive, medical, garden hose, etc.). Here's a general guide for common rubber tubing repairs:
Tools & Materials You May Need:
Scissors or utility knife
Sandpaper or cloth
Rubber patch or tire patch kit
Rubber adhesive or super glue
Hose clamps or zip ties
Replacement section of tubing (if needed)

Steps to Fix a Rubber Tube:
1. Identify the Damage
Look for cracks, holes, or tears.
Run water or air through the tube if needed to spot leaks.
2. Clean the Area
Dry the tube thoroughly.
Clean the damaged area with rubbing alcohol or soap and water.
Roughen the surface slightly with sandpaper for better adhesion.
3. Choose the Repair Method
Depending on the damage:
Small Hole or Pinhole Leak:
Use super glue or rubber cement to seal it.
Let it cure for several hours.
Optionally wrap with rubber repair tape for extra protection.
Tear or Split:
Use a rubber patch kit (like for bike tires).
Apply glue and press the patch firmly.
Clamp it or apply pressure while it dries (usually 30 minutes to a few hours).
Large Damage or Weak Area:
Cut out the damaged section.
Use a connector or coupler (plastic or metal) to join the two ends.
Secure tightly with hose clamps or zip ties.
Tips:
For pressurized tubes (like fuel lines or air hoses), make sure the fix is rated for pressure.
If the tube is old and brittle, replacement is often safer and more durable.
Heat the tube slightly to make it more flexible when inserting connectors.
If you are interested in our products or have any questions, please feel free to contact us.


